
Zapier Integration Solution
This topic describes how to set up a flow and integrate CandidateZip Resume/Job Parser with Zapier to makes an autonomous recruiting process.
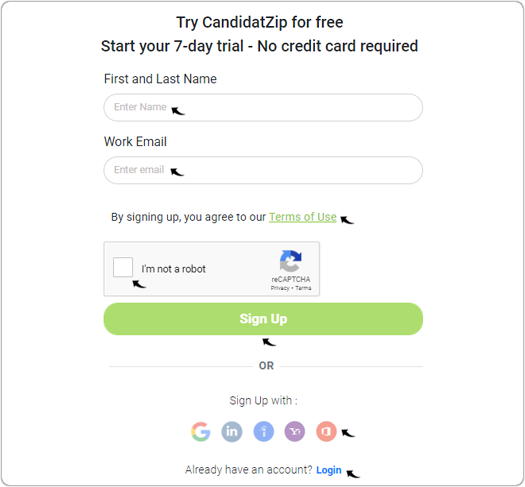
- Visit https://www.candidatezip.com/ and click Sign Up For Free to open the https://app.candidatezip.com/SignUp website.
- On Sign Up page, enter the First and Last Name and Work Email.
Read the Terms of Use, check the checkbox for I'm not a robot, and
click Sign Up. If you already have CandidateZip account, click Login
for your CandidateZip account.Note: You can also sign up using a social account such as Gmail, LinkedIn, or other accounts as necessary.
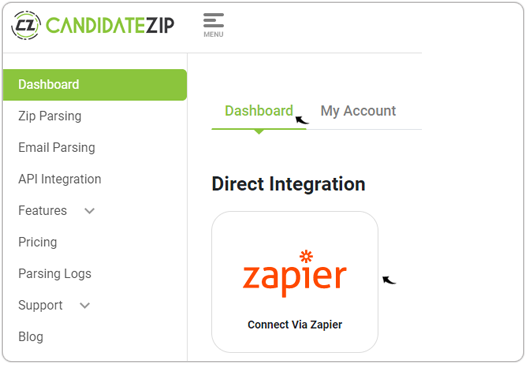
- On the Dashboard tab, click the zapier application that opens the
zapier webpage.
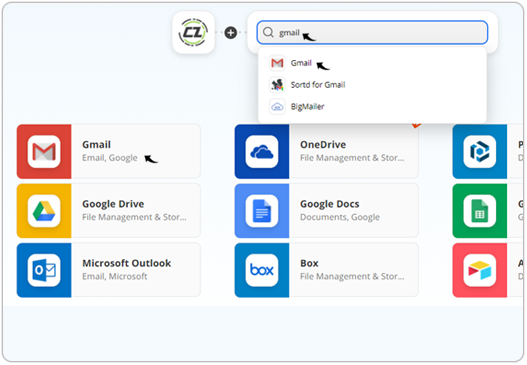
- On the zapier webpage, you get several applications to pair with CandidateZip
Resume/Job Parser. Click any application on the zapier webpage or enter any
application name in the search bar, for example, Gmail.Note: In this example, CandidateZip is paired with Gmail, you can use any other application for pairing and follow similar steps.
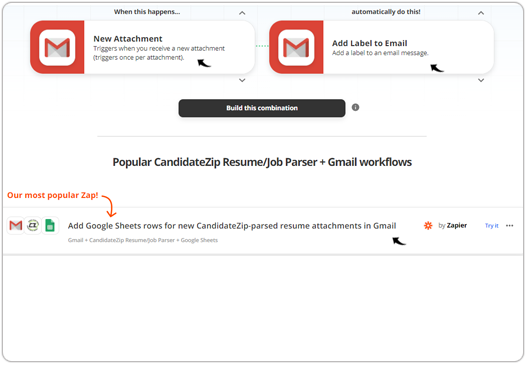
- On CandidateZip Resume/Job Parser + Gmail Integrations page, you get
several workflows that are called zap. Click any workflows or zap, for example,
Add Google Sheets rows for new CandidateZip-parsed resume attachments in
Gmail.Note: This workflow/zap triggers when you receive a new attachment/resume in Gmail, and the parsed data will be stored in the google sheet. One time workflow is to be set-up, after that, all resume received in the Gmail gets parsed, and the parsed data get saved in the google sheet automatically. You can follow similar steps and use your ATS, CRM, or any other recruiting platform to save the parsed data instead of a google sheet.
- Select a Zap and click Try it.
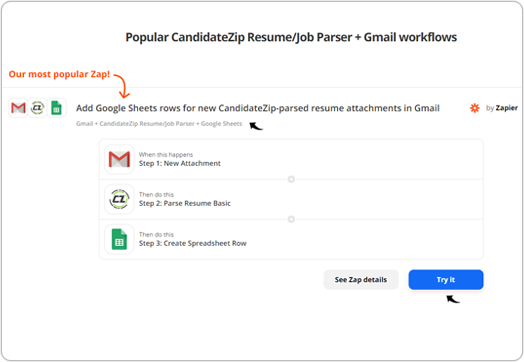 To set-up a zap workflow, you have to perform the following three steps, follow the below sections.
- Step 1: New Attachment in Gmail
- Step 2: Parse Resume in CandidateZip Resume/Job Parser
- Step 3: Create Spreadsheet Row in Google Sheet
Step 1: New Attachment in Gmail
- Click Sign in to Gmail to sign in to your Gmail account in the next
step.Note: You can click on the edit
 icon and edit the zap name as
necessary.
icon and edit the zap name as
necessary.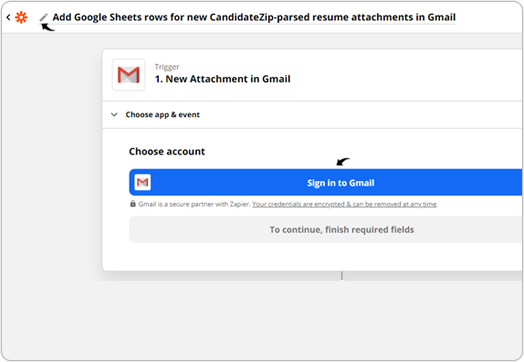
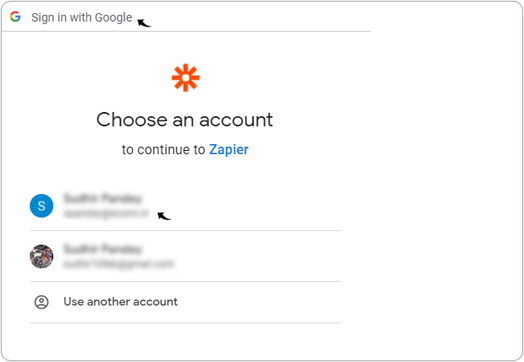
- On the Sign in with Google pop-up, sign in to your Gmail account.
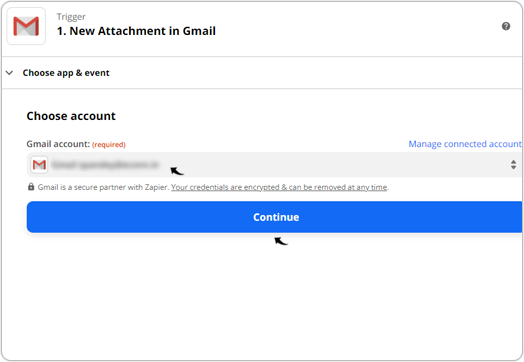
- Once you log in to the Gmail account successfully, click Continue for
your zap.
- On the Trigger page, Set up trigger and select the
fields as follows:
- Label/Mailbox: For this field, select from the drop-down options, for example, INBOX.
- Search String: For this field, enter a String, for example, CandidateZip parsing.
Note:- This triggers the zap when there is an email received in Gmail INBOX with a subject containing the string "CandidateZip parsing". Similarly, you can select different values for the above fields as necessary.
- If you leave Search String blank, the zap will be triggered for all the attachments that you receive in your Gmail inbox.
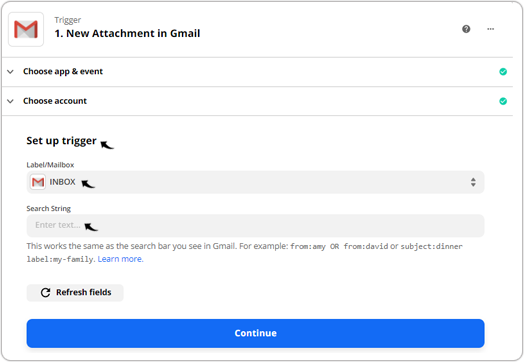
- Once you set up the trigger successfully, click Test trigger to test
the set-up.

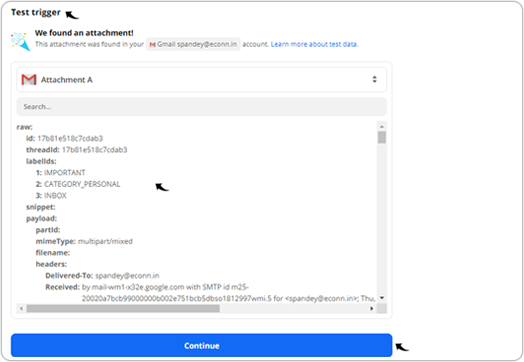
- The latest attachment that you receive in the Gmail inbox will be pulled.
Verify the attachment details and click Continue.Note: The attachment from the Gmail inbox is pulled only if the subject contains the strings that you set up in the above step-4, for example, "CandidateZip parsing".
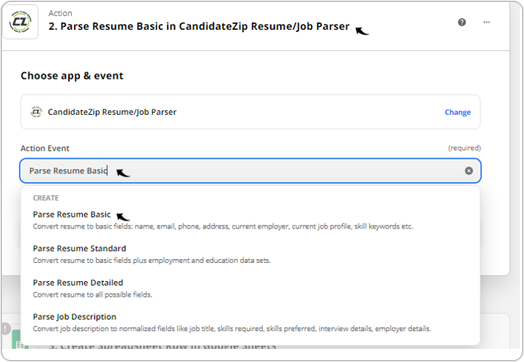
Step 2: Parse Resume in CandidateZip Resume/Job Parser
- On the Action Event field, select the CandidateZip parsing method from
the drop-down and click Continue. To know more about the CandidateZip
parsing method's extracted fields, visit https://www.candidatezip.com/fields-extracted-by-candidatezip.
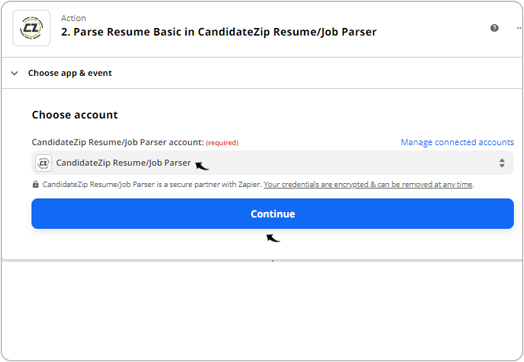
- Click Sign in to CandidateZip Resume/Job Parser and sign in to your
CandidateZip. Once successfully authorized using CandidateZip credentials, click
Continue.
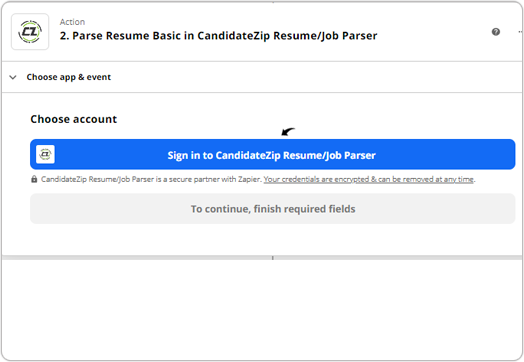
- Once you successfully authorize your CandidateZip account, click
Continue.
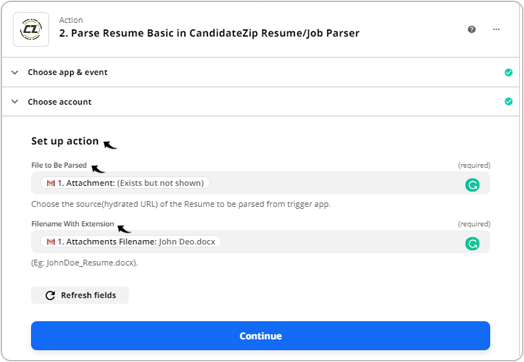
- On the Set up action box, select value for the following fields from the
drop-down and click Continue.
- File to be Parsed: Select value for this field from the drop-down, such as Attachment.
- Filename With Extension: Select value for this field from the drop-down, such as Attachment Filename.
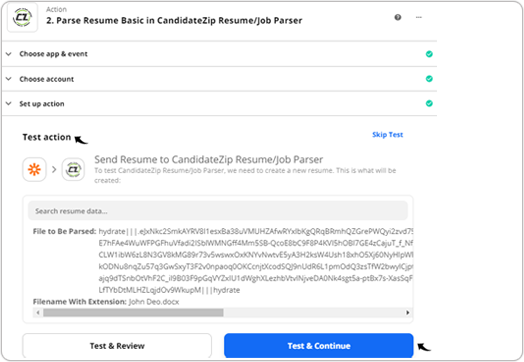
- On the Test action box, click Test & Continue.
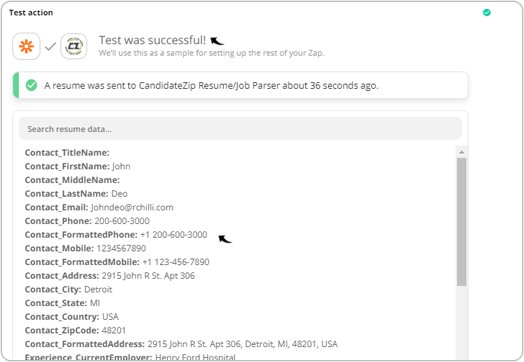
- Once the test is successful, you can verify the parsed data in the output
box.
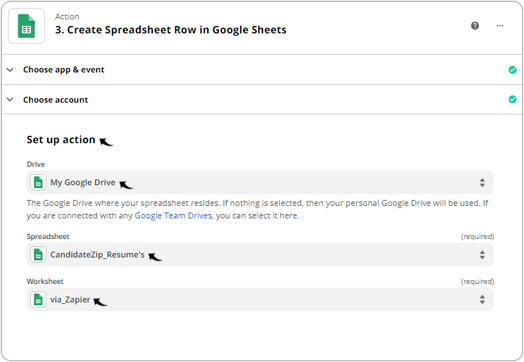
Step 3: Create Spreadsheet Row in Google Sheet
- On the Choose app & event box, select the app to store the parsed
data. For example, you can save data in google sheets. Note: You can click Change and select other applications to store the parsed data. You can also use your CRM, ATS, or other application to store the parsed data.
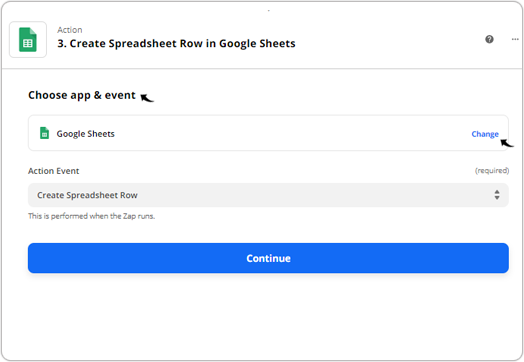
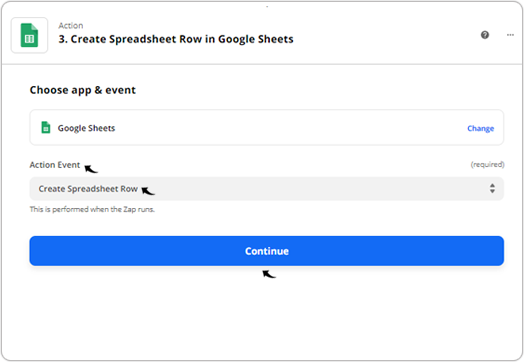
- For the Action Event field, select Create Spreadsheet Row and
click Continue.Note: This selection makes sure a new row is created in the google sheet for the parsed data.
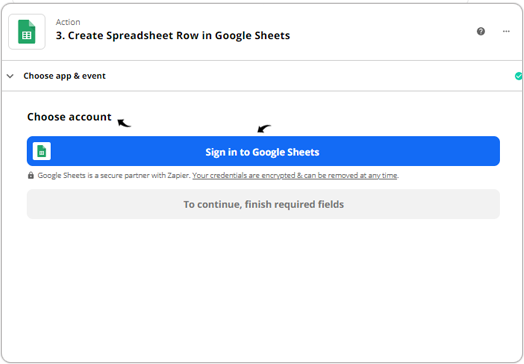
- On the Choose account box, click Sign in to Google Sheets and sign
in to your google account.
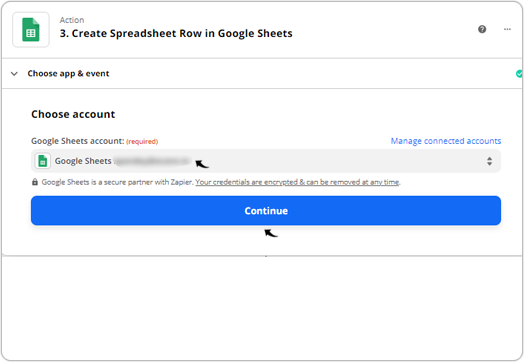
- Once you successfully authorize your Google Sheets account, click
Continue.
- On the Set up action box, select value for the following fields from the
drop-down and click Continue.
- Drive: In this field, select the location of the google spreadsheet, such as My Google Drive.
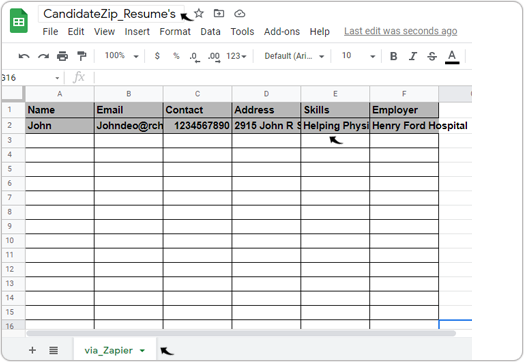
- Spreadsheet: In this field, select the name of the google
spreadsheet, such as CandidateZip_Resume's.Note: Make sure that the column such as Name, Email, Address, etc, are defined in the google spreadsheet against which parsed data will be mapped.
- Worksheet: In this field, select the worksheet in the spreadsheet where you want to store the parsed data, such as via_Zapier.
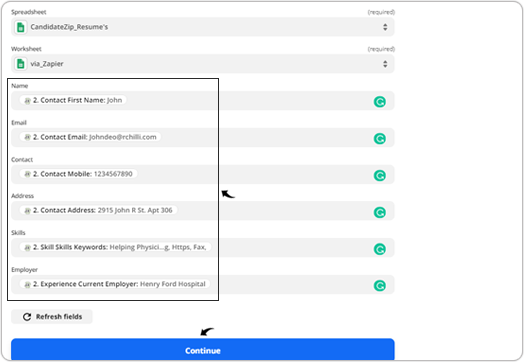
- Once you added the google sheet details in the above step, all fields of the
google sheets will be imported and displayed.

- Map the google sheet fields with the CandidateZip fields, for example, the
Name field is mapped with the Contact First Name field of
CandidateZip. Once all the fields are mapped, click Continue.
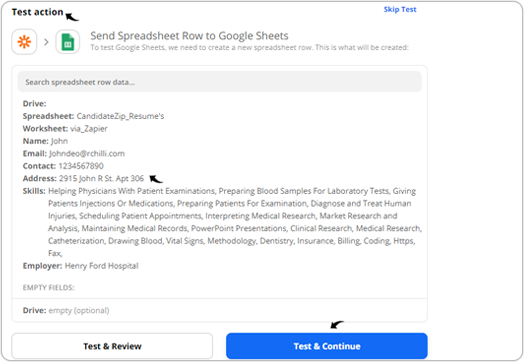
- On the Test action box, verify the details and click Test &
Continue.
- Once the test is successful, click Turn on Zap.
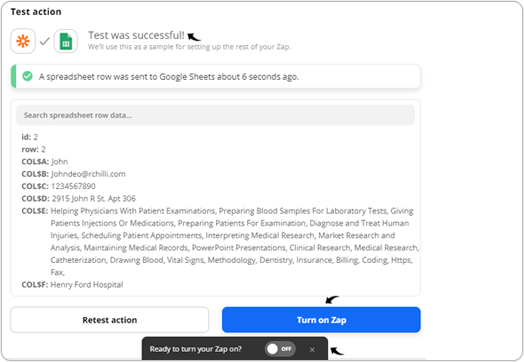
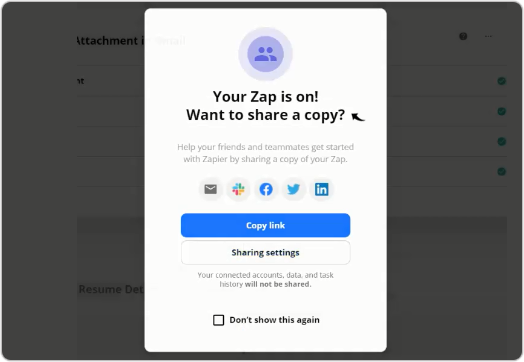
- Once your Zap is Turn on successfully, a pop-up will be displayed with the
message Your Zap is on!.
- Once your integration is successful in step-9 above, the parsed data will be successfully
stored in the google sheet. This confirms the successful integration.
Result
Once the integration of CandidateZip and Zapier are done successfully as per the above steps, and Zap is turned on, then all the attachments coming to your Gmail inbox afterward will be parsed, and the data will be automatically stored in the google sheets. The process of storing the parsed data in the google sheet from the Gmail attachment becomes autonomous.