Source App: Zip Parsing + Target App: Hubspot
This topic describe the procedure on how to create a hiring workflow using source app as zip parsing and target app as Hubspot.
- Once you click Create New Workflow in section Hiring Flow
Dashboard, fill the following fields as follows:
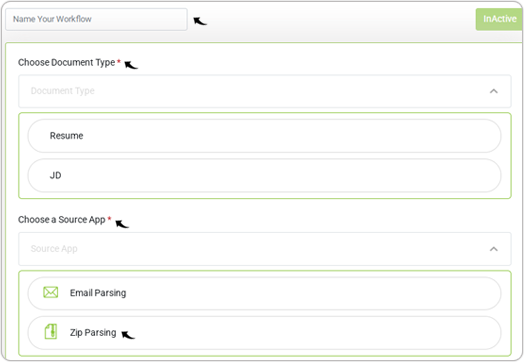
- Name Your Workflow: Enter the name for your workflow. The System would assign a name to the workflow if this field left blank.
- Choose Document Type: Choose Resume from the drop-down.Note: Hubspot is not applicable for the JD parsing.
- Choose a Source App: Choose either Email
Parsing or Zip Parsing from the drop-down as necessary. In
this case, select Zip Parsing.
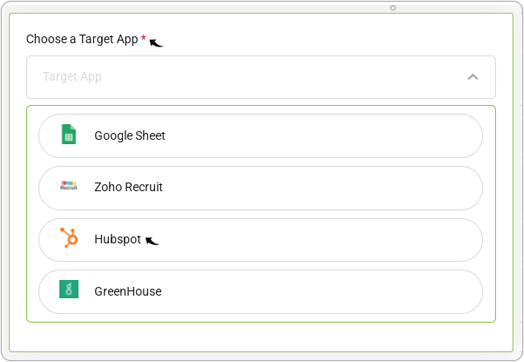
- Select Hubspot as a target app for Choose a Target App field.Note: If JD is selected in the above step, then the Zoho Recruit, Hubspot, and the GreenHouse are not applicable as a target app.
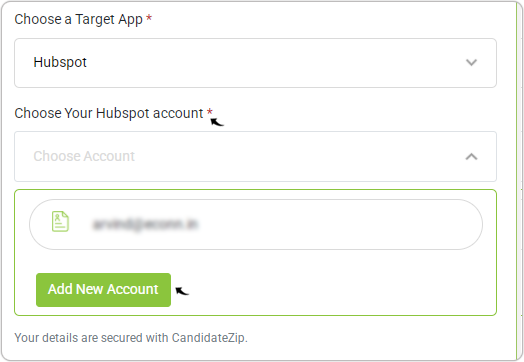
- Click Add New Account for the Choose Your Hubspot account field.Note: Select existing Hubspot account from the drop-down as necessary.
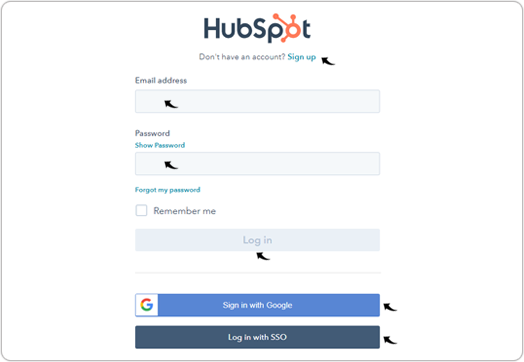
- On the Hubspot login page, click Sign up to create a new Hubspot account or
enter your existing Email address, Password, and click Log
in.Note: You can also log in to your Hubspot account using Google or SSO sign-in options.
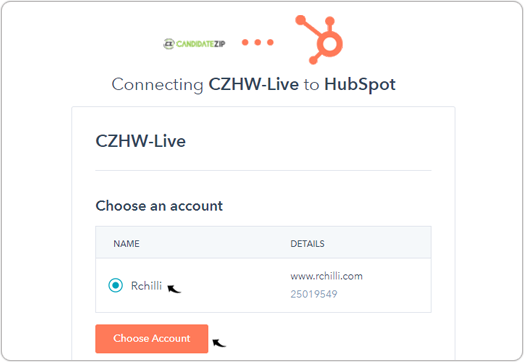
- On the integration page, choose your account and click Choose
Account.
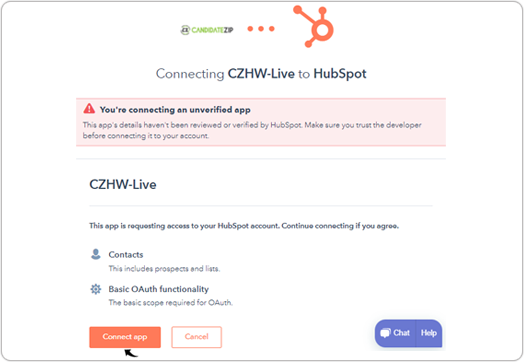
- Click Connect app to allow CandidateZip access to your Hubspot account.
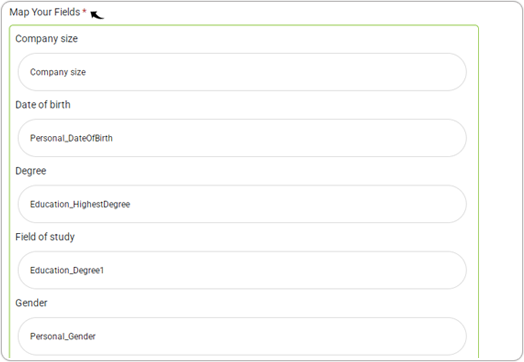
- Once the Hubspot account is added successfully in the above steps, map all the
Hubspot fields as necessary with the relevant CandidateZip field in the Map Your
Fields section.Note: Mandatory fields are First name, Last name, and emails.
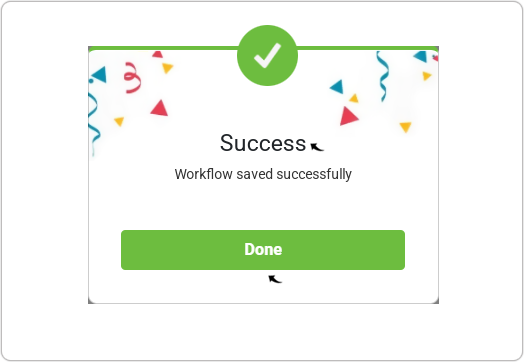
- A Success pop-up will be displayed once the workflow is created successfully.
Click Done on the Success pop-up.
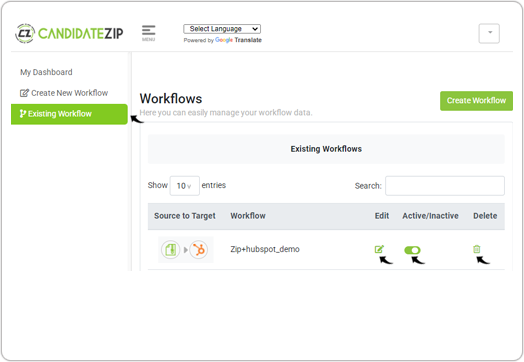
- Click Existing Workflow on the left-side navigation panel to view the created
workflow. You can do the following:
- Click
 icon to edit workflow as necessary.
 - Click
 icon to Active/Inactive the workflow as
necessary.
icon to Active/Inactive the workflow as
necessary. - Click
 icon to delete the workflow as necessary.
 - Click Create workflow to create a new workflow as necessary.
- Click
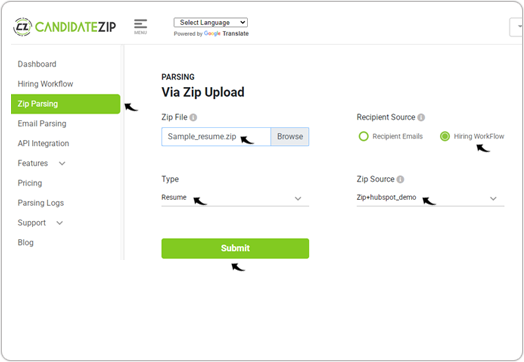
- Once the Hubspot workflow is created, upload the zip folder containing
the resumes/JD's that are to be uploaded in the Hubspot database. Click Zip
Parsing, fill the fields as follow, and click Submit.
- Zip File: Upload zip folder. Zip folder must contains either resumes
or JD's as per the selection in step-1.Note: Make sure you do not upload any resume/JD which is already existing in the Hubspot database to avoid error and parsing credit loss.
- Recipient Emails: Select Hiring WorkFlow.
- Type: Select Resume or JD from the drop-down.
- Zip Source: Select Hubspot workflow from the drop-down.
- Zip File: Upload zip folder. Zip folder must contains either resumes
or JD's as per the selection in step-1.
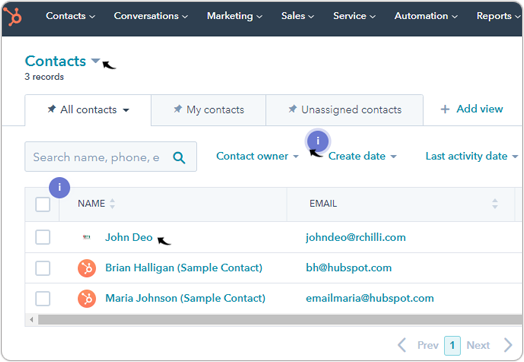
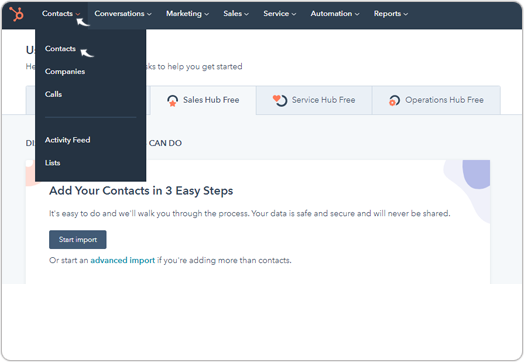
- Once you upload the zip folder in the above step, the resume/JD will be uploaded in
the Hubspot. To view the uploaded resume/JD, click Contacts, and from the
drop-down, select Contacts again.
- On the Contacts page, you can view all the resume/JD that you uploaded in the
above step-10. Click
any candidate to view the fields details. Refer to Hubspot Integration for more details on how to view candidate details
on Hubspot.